Now That’s What I Call a Sticky Situation!
One of the concerns I’ve had with lighting the spaces is making sure that I don’t end up with dark lines around the edges that aren’t lit as well as the main body of the space. In the old board, there were plywood supports at the top and bottom which severely ate into the lighted area. For this project, I was planning to use transparent acrylic to provide the supports for the top of each space to allow light to shine through. (This is as opposed to simply gluing the top spaces in place, which I wanted to avoid just in case I needed to replace one at some point. Why would I need to? No idea. But why remove the possibility?)
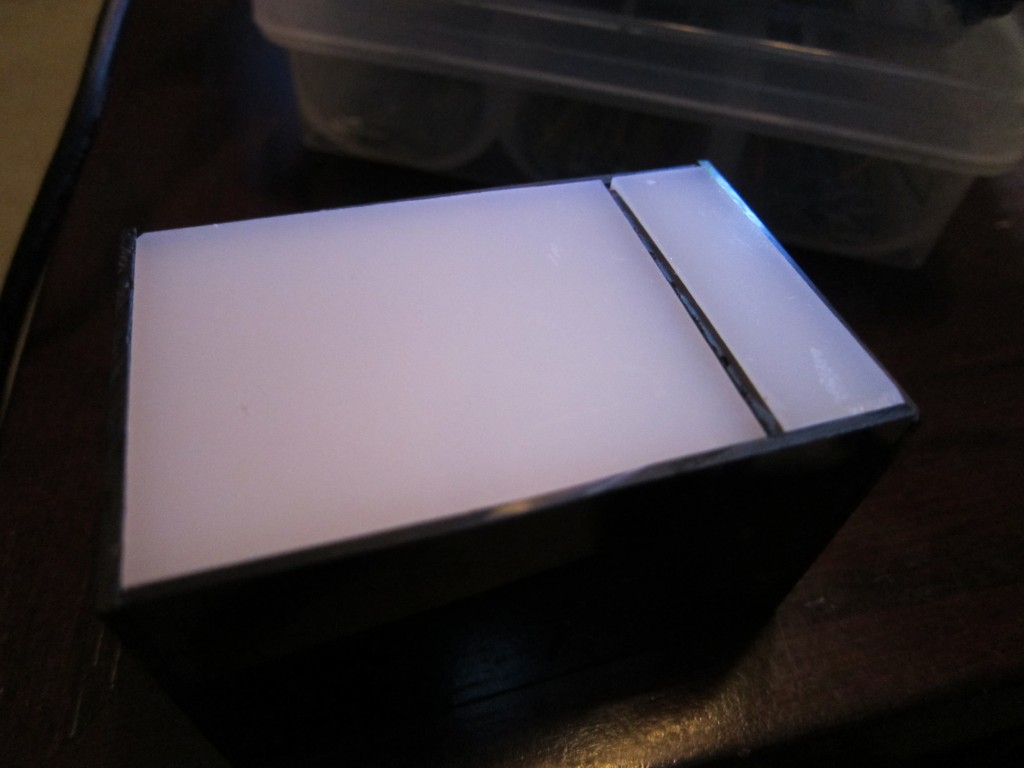
Fortunately, a trip to a local hobby store gave me what seems to be an ideal solution to both that problem, and the problem I found of needing to have the interior of each space be white to provide light reflection. Back in the model train section, they have lots of raw materials used for building roads, bridges, buildings, hills, and all sorts of other things you’d see in a model train setup. One of their materials is a simple white styrene sheet. Which is just a tiny fraction of an inch thick. You can cut the stuff with scissors. Eureka! I use this to make the inside of the box white, and those tiny fractions of an inch can provide the support I need without overly impacting the light diffusion. Surely the thickness of the top plastic will make up for that tiny ledge, right?

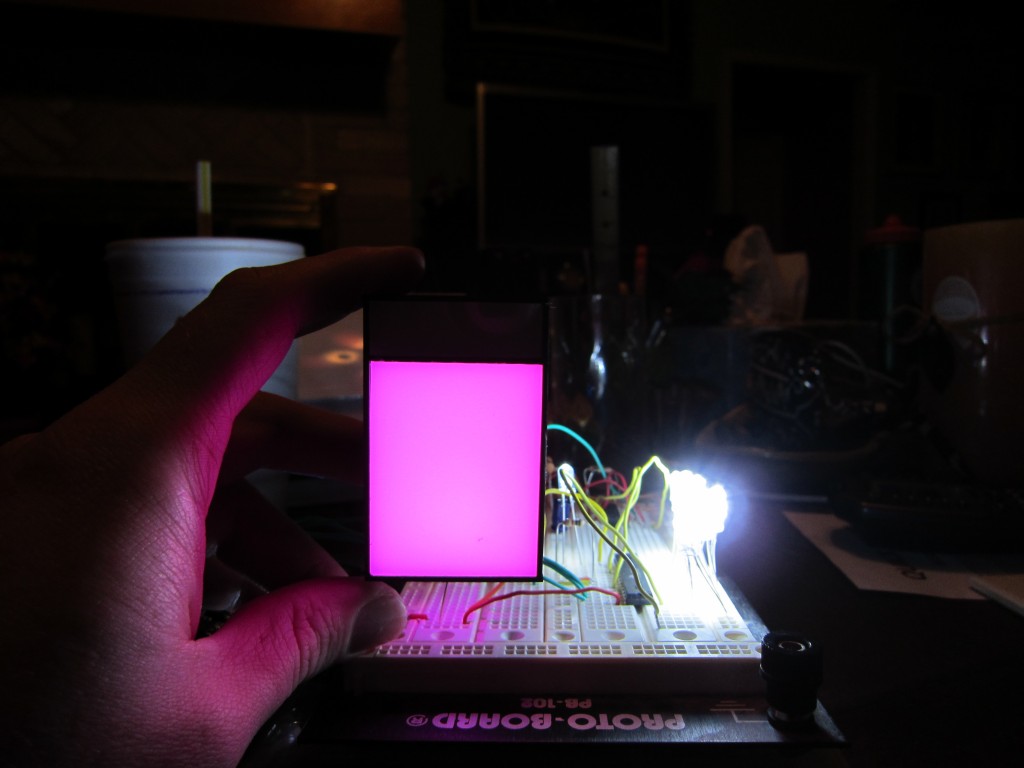
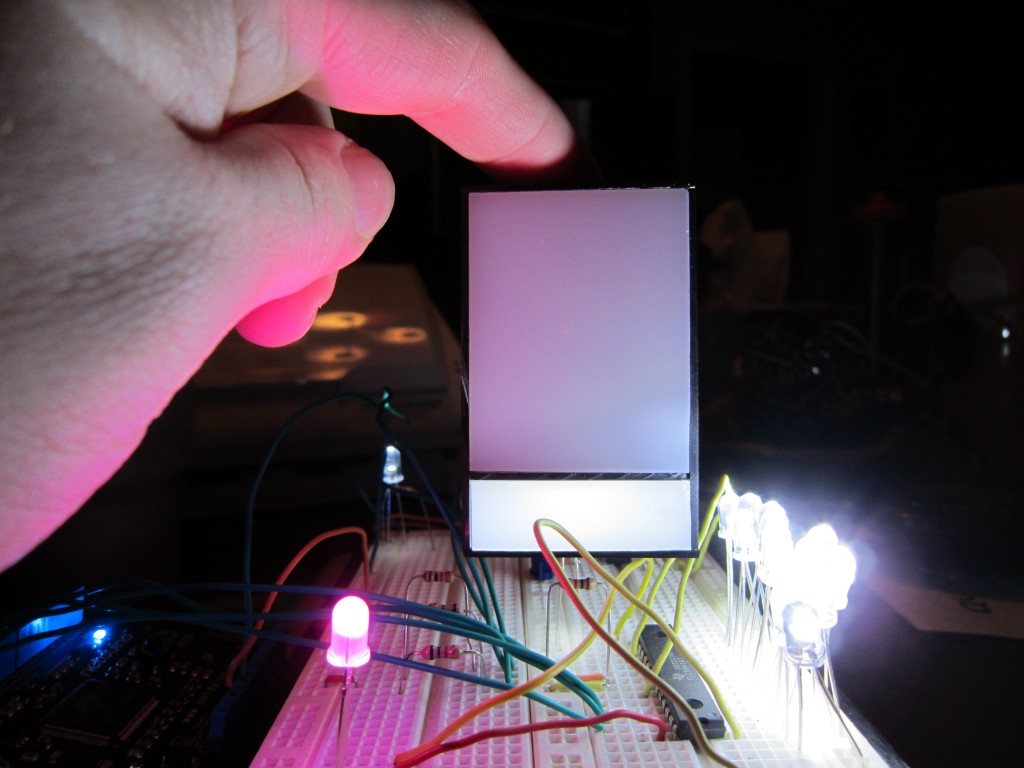
 The same hobby shop also provided me with my plastic solvent adhesive, which it was now time to try out. After a first attempt at thinking I knew better than the instructions failed, I actually followed what the bottle said to do, holding the pieces in place as I wanted and brushing the solvent along the seam. Success! After a few rounds of this, my prototype space with white lining and support was ready to roll. Now, the big test, lighting it up with both the color and white LEDs, for the main body of the space and the color bar, respectively. How did it work? Judge for yourself.
Ignore all the not-interesting LEDs on the protoboard. This testing shows pretty darn good color mixing and distribution, very minimal darkening at the edges due to the supports, and an acceptable amount of hot spotting, all based on lights being driven by the LED driver I plan to use. (Really, the hot spot is even less pronounced in real life than in the photos, as the camera liked picking up the hot spot more than the eye does.) I still need to work on getting my tolerances down for fabricating the pieces, and I need very badly to build some rigs to make the assembly a reliable, repeatable process, but this is looking very promising for getting the kind of effect I want. I also have some ideas about just how deep the various pieces need to be, so I can start doing some actual planning and cutting for pieces that will actually go in the board. Progress is fun!
-
Archives
- November 2012 (2)
- October 2012 (1)
- September 2012 (4)
- July 2012 (2)
- June 2012 (7)
- May 2012 (6)
- April 2012 (5)
-
Categories
-
RSS
Entries RSS
Comments RSS

